Introducing my new roof set up!
The all-new Rhino-Rack Pioneer Platform with Backbone system.
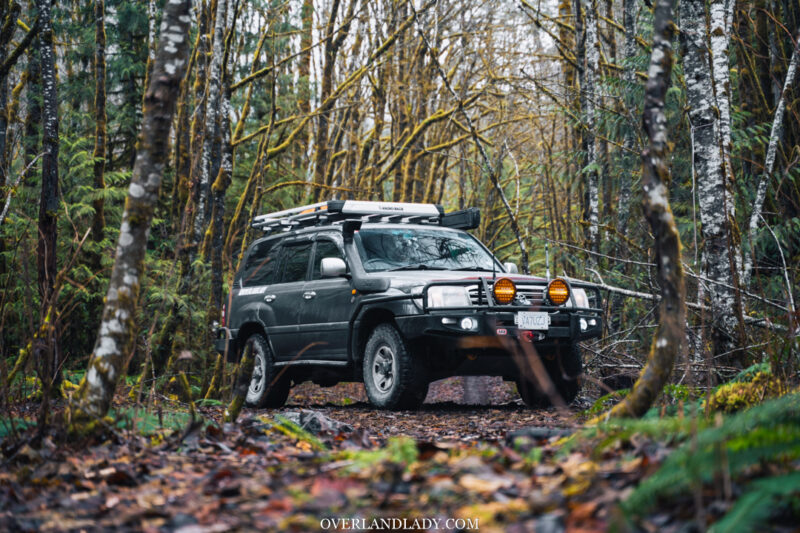
Just a little comparison before we get started on the new one. This was the tray that came with the previous owner. Safe to say it’s probably been on there for over a decade.
It’s served me well for strapping things down but I just wanted something more low-profile and stylish.
That decision was an easy one to make. Since I already have a rhino rack tray, their new generation pioneer platform was my ultimate choice.
Why Rhino-Rack?
It is the most versatile modular roof rack in the market with over 100 compatible accessories.
The company has been building roof racks for over 30 years so you can trust that they know their rack. After comparing different brands and going through the installing and testing period, it’s clear to me that every decision they’ve made in the rack design just makes sense.
Take the vertical slats as an example. I’ve had many people running brands of roof racks that run horizontally complaining to me about the wind noise, even with a wind fairing. Having the slats in the same direction as airflow, you can further reduce wind noise and drag on top of the flat design itself. And if you want to strap things down using horizontal bars, there’s always bottom supports to use.

In case you don’t know, Rhino-Rack is an Australian Company. Although we have left Australia, their US operations are right in Denver Colorado,
They also have a growing distribution network across North America plus many online channels so getting their parts is never an issue.
The rack is made out of lightweight aluminium with black power coast for corrosion resistance. The corners are made out of fiberglass re-enforced nylon.
The new version has an integrated measuring stip underneath the slats for fast installation. No need to juggle that tape measurer back and forth.
They’ve added extra channels on the front and rear sides for accessories mounting, like a light bar or work light.
The cool thing is, all four side extrusions have built-in channels to run your wires. This will come helpful when I get a solar panel on top to feed the batteries.
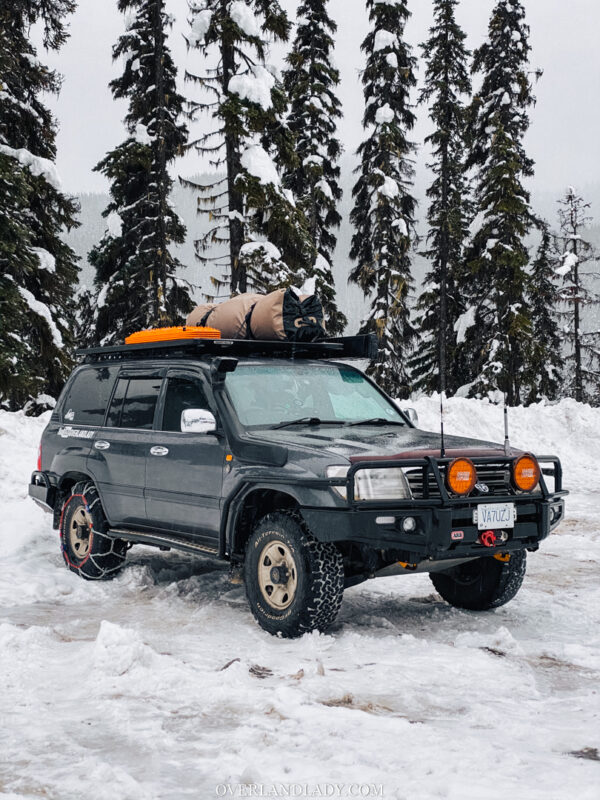
After running just the rack, awning, and maxtrax for two months, I took my time to plan the accessories I need for mounting.
Rhino-Rack Pioneer Platform Accessories
Here are what I picked out:
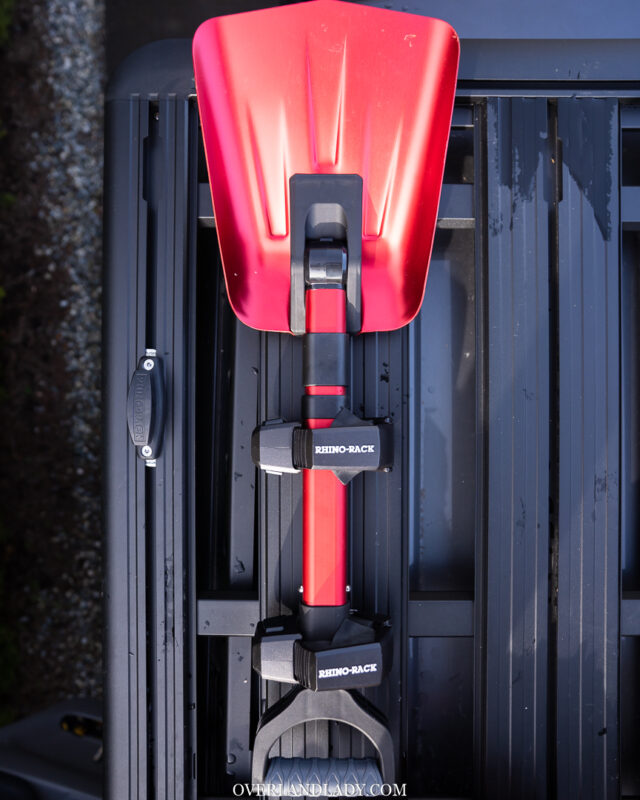
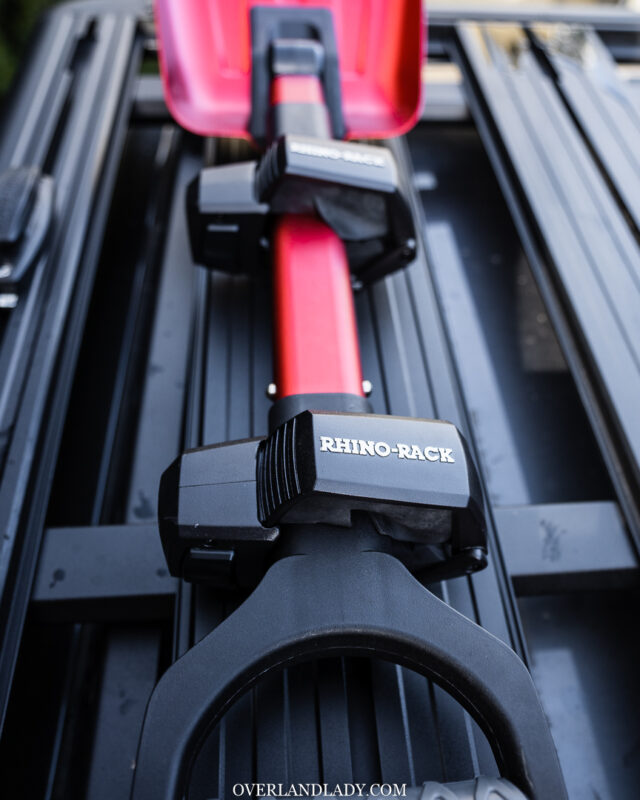
Rhino-Rack Stow It Utility Holder
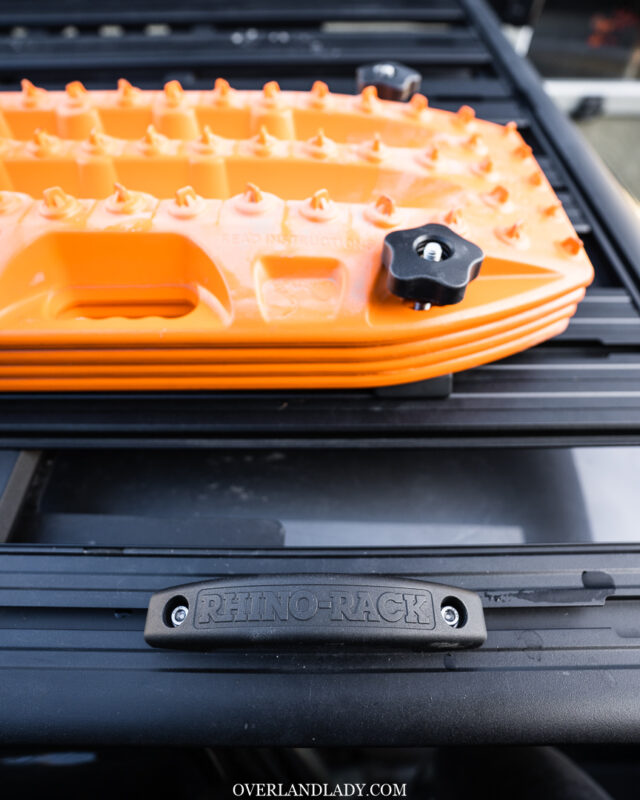
Rhino-Rack Recovery Trac Bracket
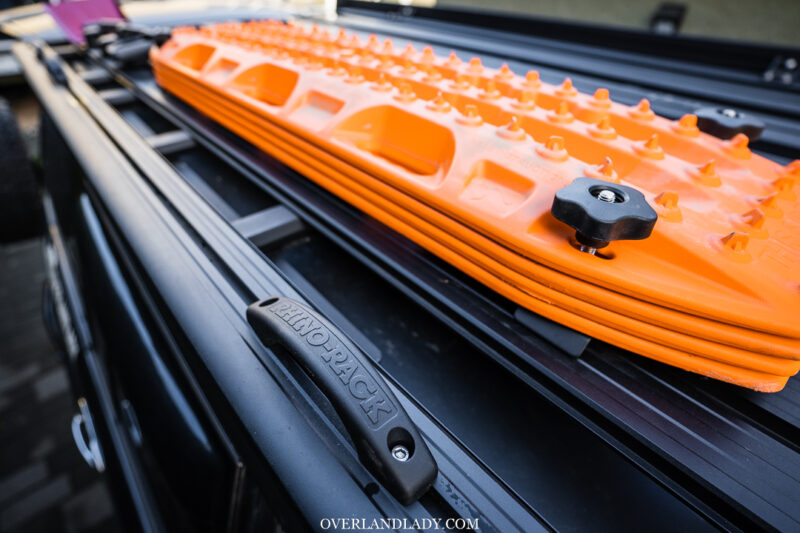
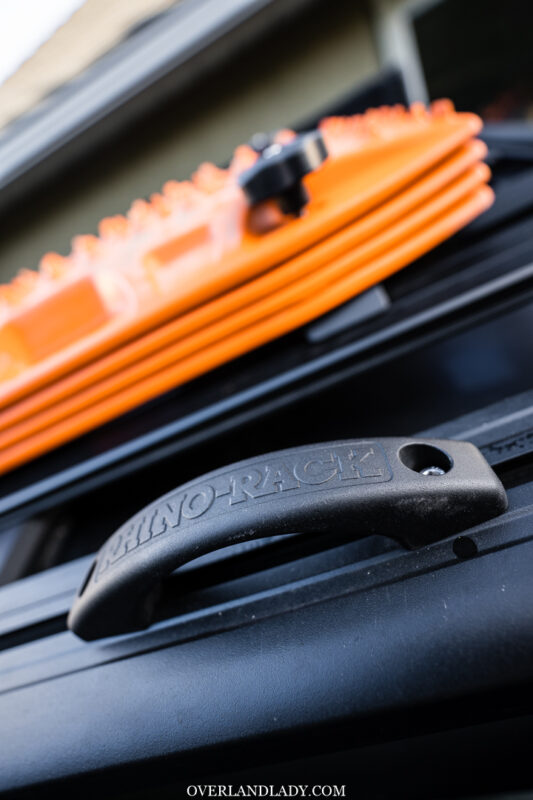
Rhino-Rack Grab handles
Also still waiting for install is the:
Work Light Bracket
Ski/Snowboard Carrier
because the required Accessory bar was on backorder.

Hi Monique,
Good day,
How are you? Hope all is well. I’ve been following your adventures in Youtube and I would like to follow your set-up ARB bumper, rockers, etc but since Iam a family man, I would like to make the updates one step at a time and if I have some extra money.
I own a LX470 2001 model and I would like to know the following:
1. What is the tire size you are using?
2. What lift (make and brand) and is it a 2″inch lift ARB you are using? Did you update your lower and upper control arms? What brand?
3. What tire pressure are you using on highway and on Forest roads?
4. What tire inflator and deflator are you using?
5. What portable power station are you using? is it Jackery?
What top 5 recommendation do you have for overlanding advendtures , equipment needed, must have and needed rig modification.
The only modification I have made on my LX470 2001 is the 2″lift ARB , K02 tires and ARB awning/Tent
Thank you in advance,
Stay Safe
Best Regards,
Eduardo
Hi Edwardo,
Here’s a parts list of my Land Cruiser. Hope it answered most of your questions: https://moniquesong.com/altar/
I run around 44 – 48 PSI for highway. Around 20PSI for offroad.
Right now I use Freedom Recovery Gear quick deflator (the 4 values). I also carry an ARB deflator for when I need to air down to a different level as my preset on the Quick Deflator valves. ARB hard-mounted air pump for air up.
I have several power stations from different brands. All with different power output and battery capacity. I bring on which ever one that fits my need for the specific trip.
My top recommendation would be: don’t rush on throwing money on modification. Go out, try it for yourself. Slowly you’ll know what you need to better assist your trips. Everyone likes their trip differently. Hence the parts needed would be different. For example, I cook in an air fryer so I have a high wattage requirement for a power station. You may not need it if you cook on a propane stove. I go on very long and remote trips where fuel range is a concern. Hence I have an extended fuel tank. But if you don’t plan on going long journeys to extremely remote places, there’s no need for that extra weight under the rear end.
You already have enough to get you out there. So go do it and you’ll be able to speak for yourself without anyone telling you. Don’t let the salesperson sway you to wanting things you don’t need.
Hope that helps.
Monique