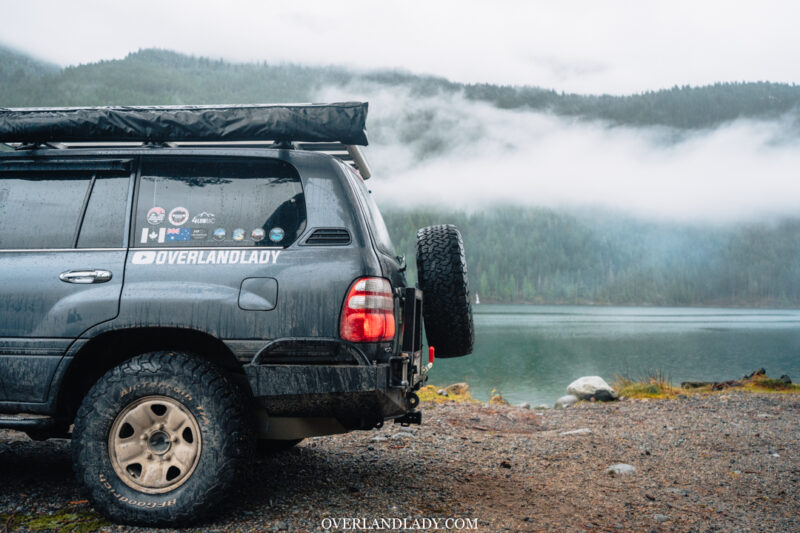
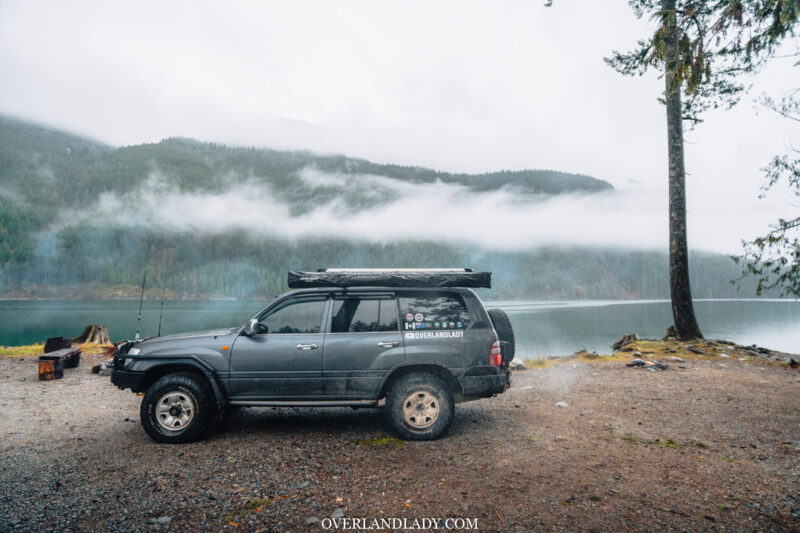
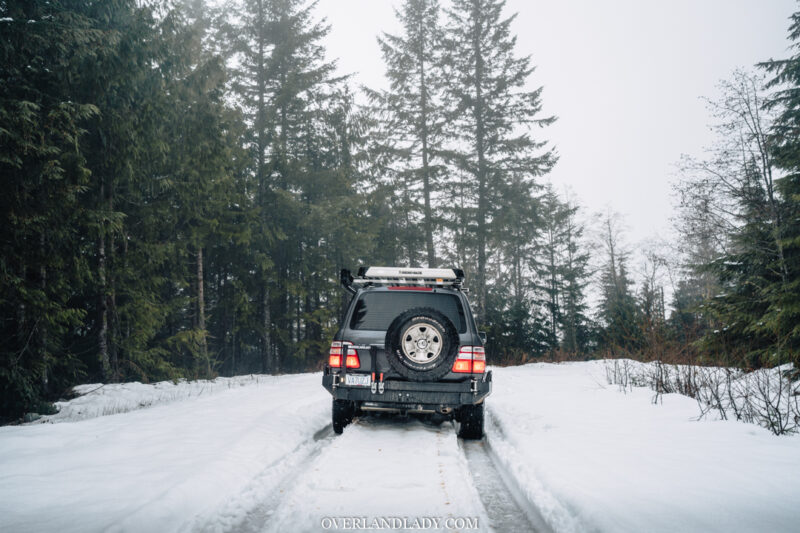
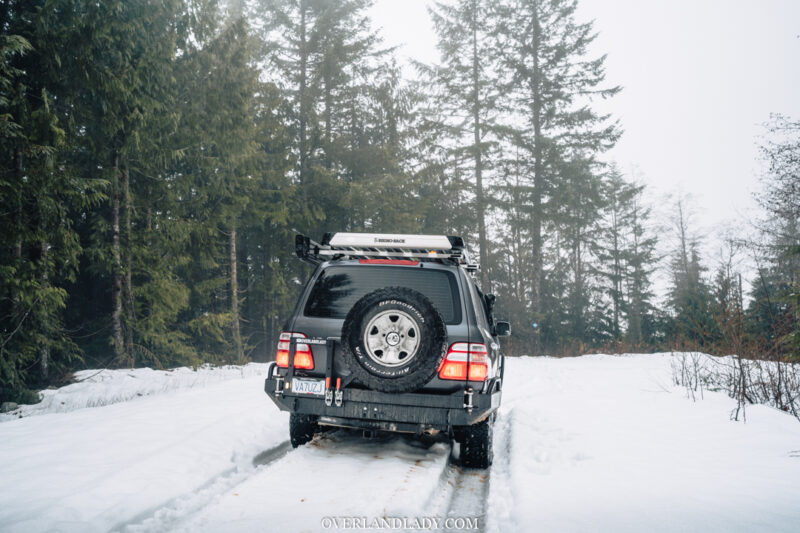
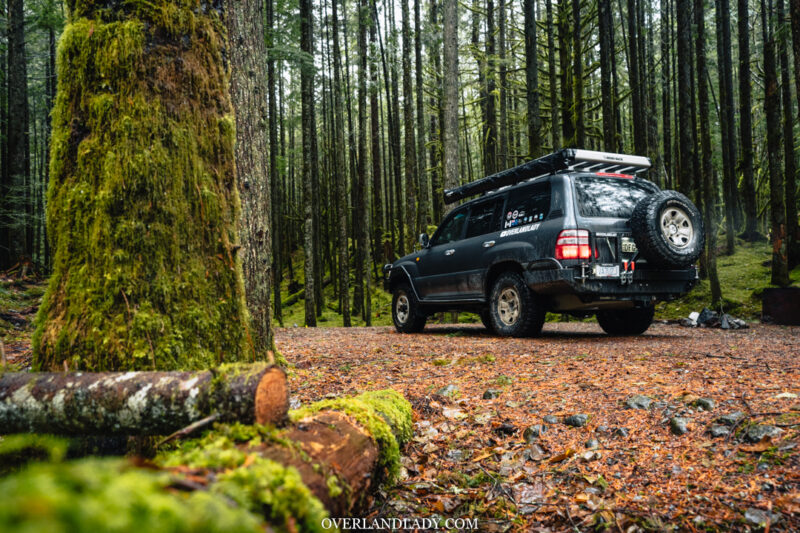
When thinking of rear armor, I’ve been pondering on a set of swing-out rear bumper for a while. Coastal Offroad was recommended to me many times by my friends in Canada. Sure there are options for assembled whole bumper like ARB and Kaymar. Yet I’m not a huge fan of the bulky look.
Table of Contents
Building journey
Hitch problem
My Coastal Offroad Bumper option
Coastal Offroad Discount!
Coastal Offroad Rear Bumper for Landcruiser 100 / LX470
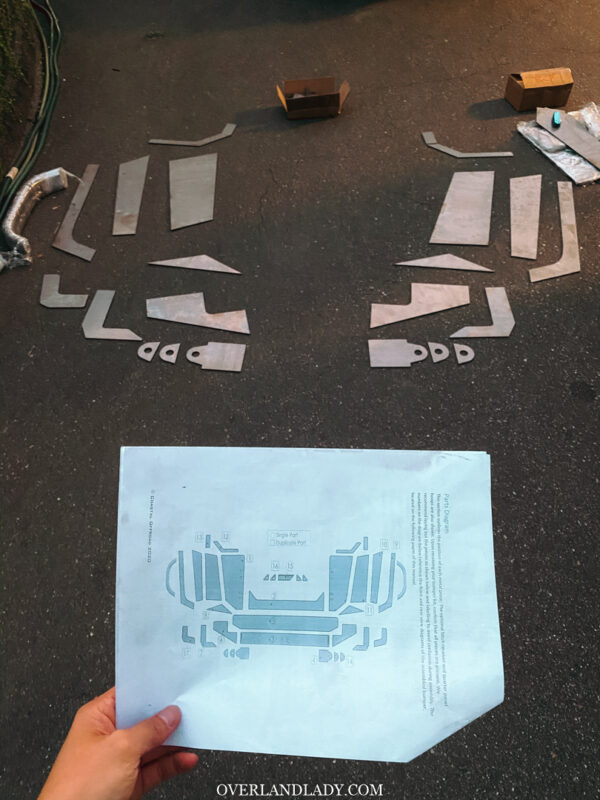
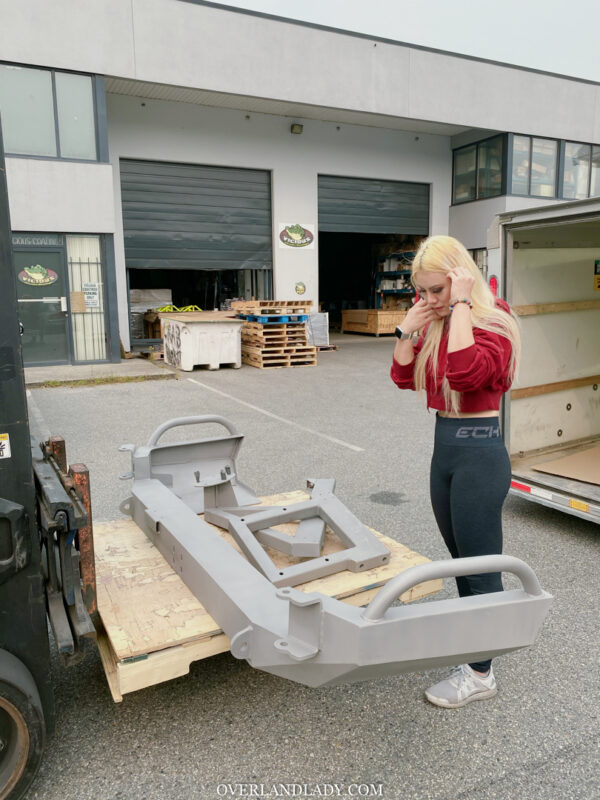
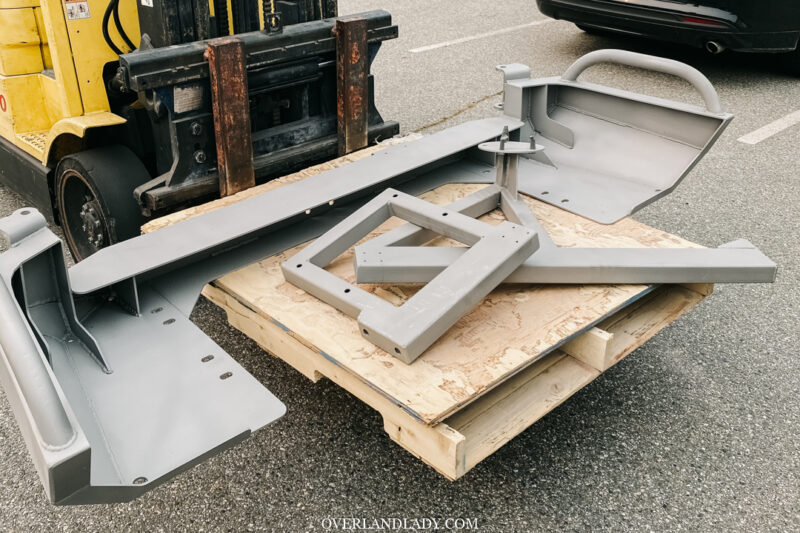
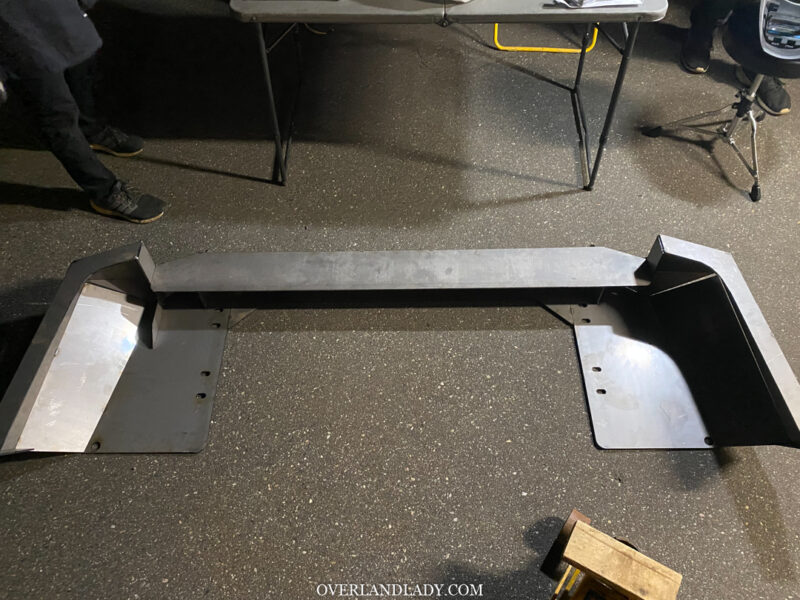
Coastal Offroad is known for its high clearance 4WD armors. One special thing I need to point out is that they sell armors by “kit” – not as a whole assembled unit. This means you get them in pieces of bare metals cut to the specific dimensions needed for your model of armor, and you get to weld them together yourself or have a professional do it.
Since the kit comes in pieces of metal, I was able to pick up all the bundles by myself from their Delta facility. Each bundle is limited to 40lb and fit in a small vehicle nicely.
There’s already a version of the rear bumper for LX470 / Landcruiser 100 from Coastal Offroad’s product line. But they are making a Version 2 which changes the lines at the corner, creating a less bulky look. Sound like an R&D project? I’ll take the challenge!
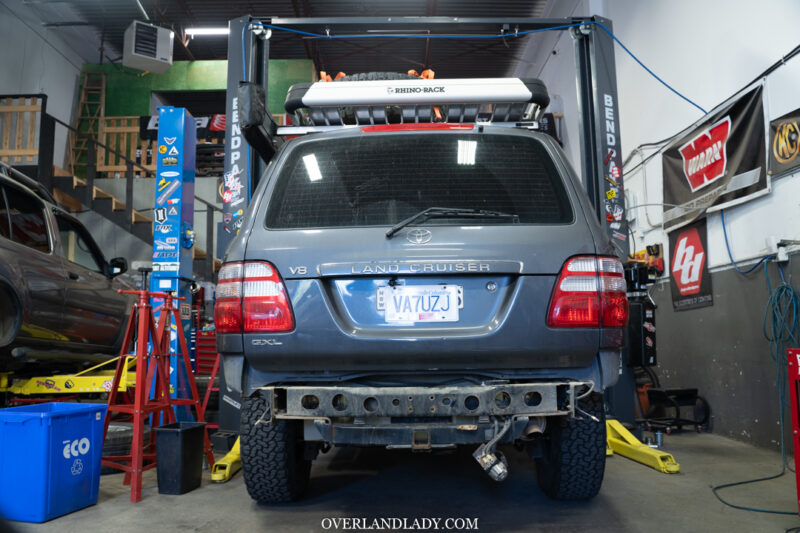
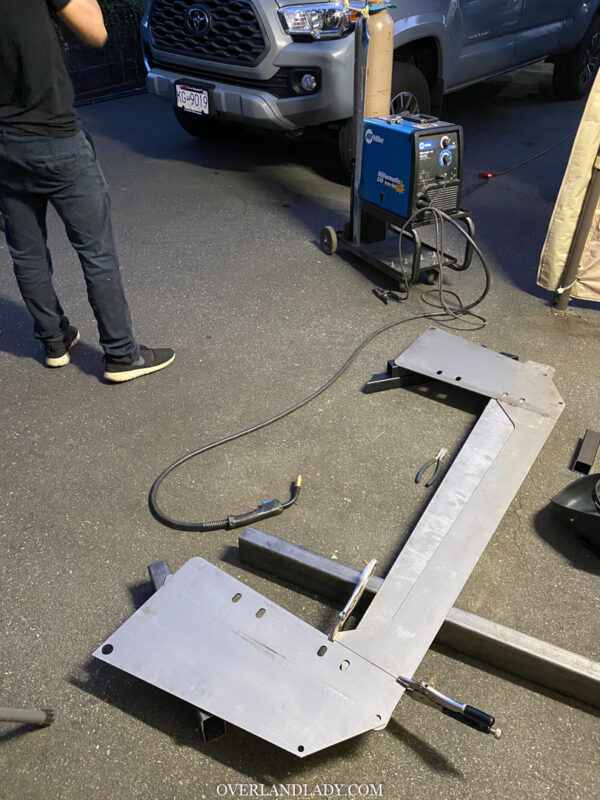
2 weeks before my Banff trip, we started the build. Took off my scarred factory plastic bumper in the shop and started assembling the main pieces for the bumper itself. We quickly realized some holes need adjustment to have the back and bottom plate align. A phone call with Coastal Offroad later, we’re getting the corrected pieces two days late.
The team at Coastal Offroad have also noted the issues and made permanent changes to all the new kits for LC100/LX470. So when others order the same kit, they won’t have this issue again.
We are now three days short. My welder has a day job. We quickly realized that we need to relocate the vehicle and the job to somewhere without time constraint – the shop’s closing hour.
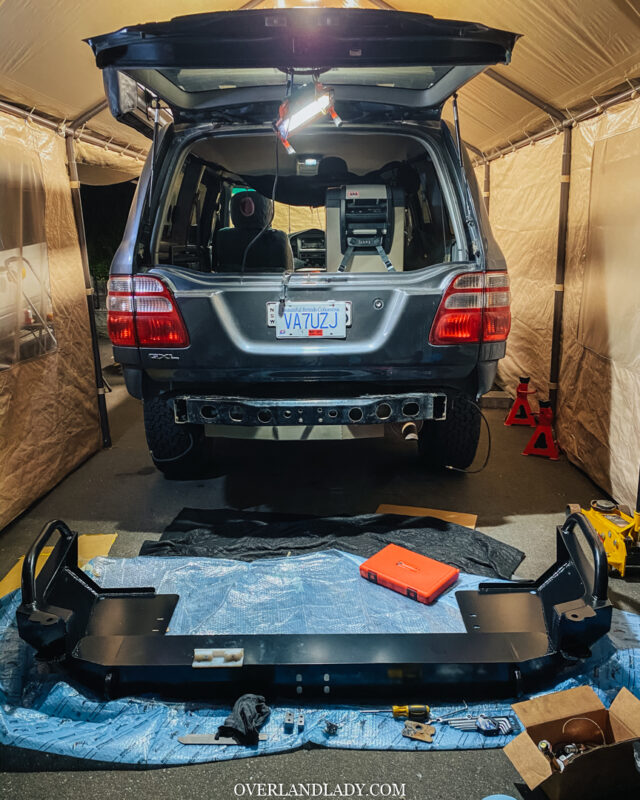
The fact that we later completed the build in the garage just goes to show the DIY aspect of the Coastal Offroad bumper. We also need to factor in the time for powder coating. The shop that was able to take in a same-day job is closed on Friday. This put us in a position where we have to get the main parts done on Wednesday. Essentially, my welder was only given 3 days to finish the welds!
I can’t be more grateful for my awesome team. Eric and Chris did more than anyone could ever ask for, squeezing every minute to get my bumper built on time.
If you are in Vancouver and need a hand with welding your own Coastal Offroad bumper, my guy is open for more projects. Email me and I will connect you with him. But please give him more time than I did. Mine was basically an impossible mission. Also, I recommend leaving the vehicle with your welder. I had some mechanical works to do so I kept the rig in the garage. But it’s way easier for your welder to test fit as he progresses and makes adjustments on the spot.
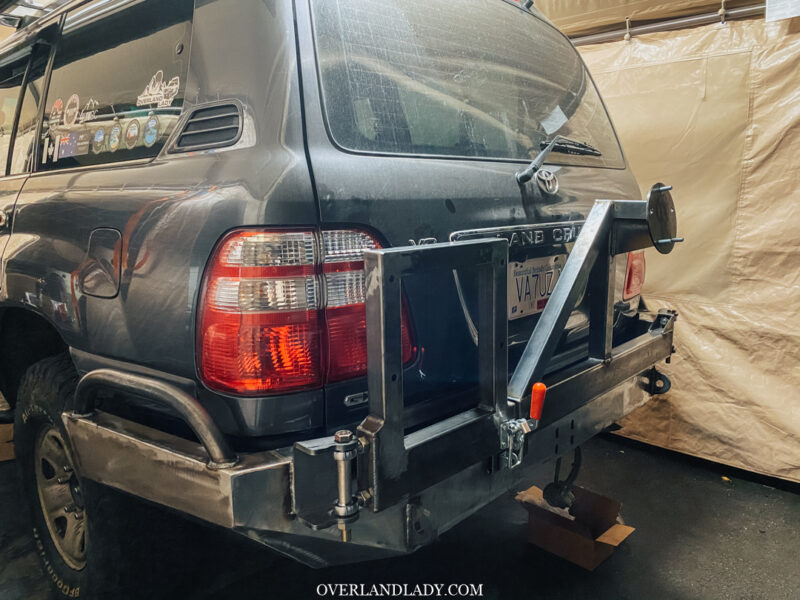
Fitting on Wednesday night. By now we can only say “generally looks good”. The swingout arms were too close to my tailgate hatch. So the next day when we took the pieces to paint, Eric made two spacers to push the latch out – the arms now sit away from the tailgate just enough.
Sand blasted and ready for powder coat!
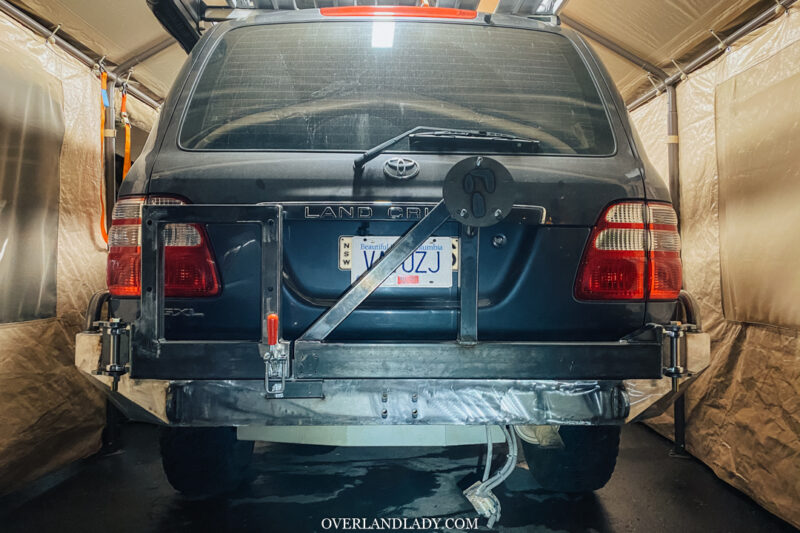
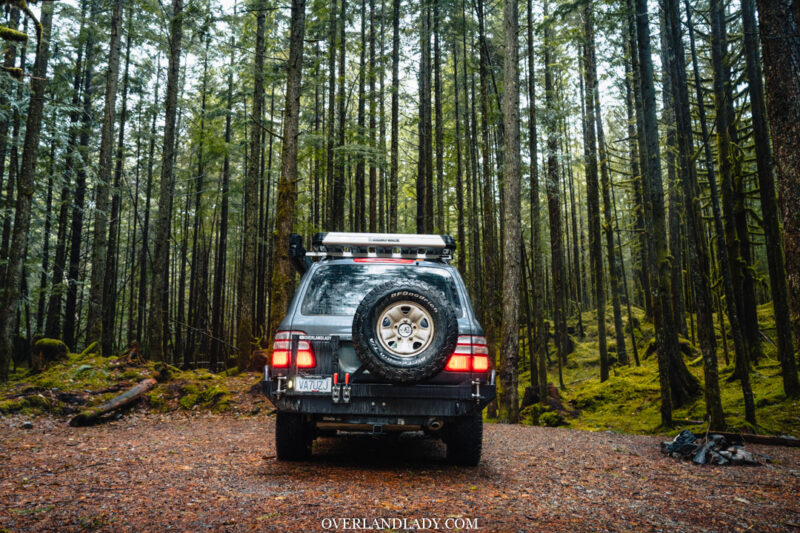
The moment of truth! Final fitting after powder coat! Everything fits except the spare tire. The swing-out arm for spare is universal which fits most alloy/aftermarket wheels. However, my factory steelie has too deep of a backspace. My rim couldn’t sit flat on the wheel mount before the rubber already touches the arm.
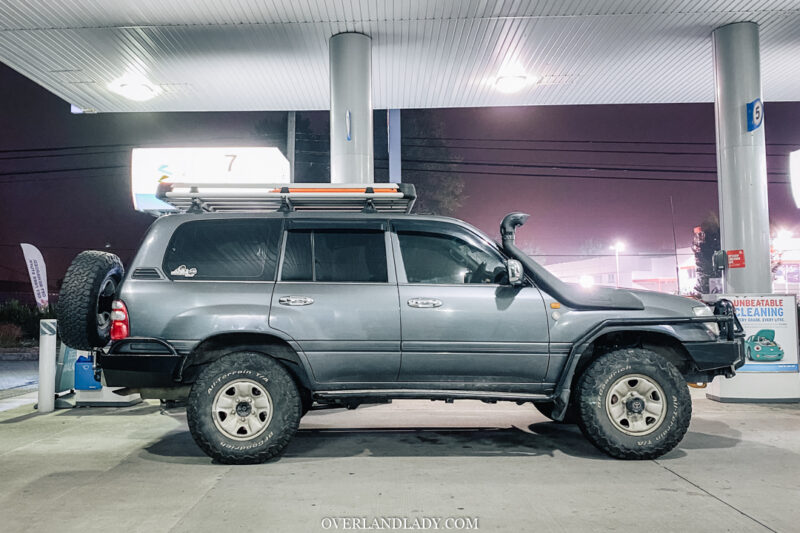
So I put the wheel on reverse… Like a G-Wagon… But this extends my spare backward quite a lot and it looks really weird. After a 2.5″ spacer, we’re settled.
Coastal Offroad Hitch Option
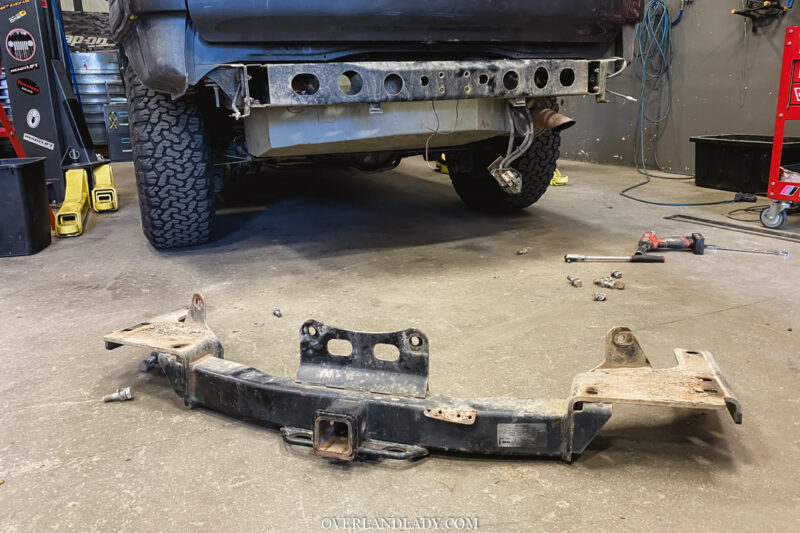
Another issue we are having is the hitch receiver. The optional 2″ recessed hitch receiver from Coastal Offroad is fine to use for recovery, but not rated for towing due to everyone’s welds vary. However, the bumper will accommodate the factory hitch since it has a flat bottom.
The issue with the factory hitch from Australia, as you can see, is that it has three pieces that come up to bolt on to the crash bar. Maybe Australia has a different towing rating/standard. These vertical pieces interfere with the Coastal Offroad bumper. So I ordered a US version hitch receiver from Curt. Curt has never failed any hitch as far as I know – my friends all run them. But after two orders of Curt Hitch, we had to settle in disbelief – they somehow messed up on LC100 very bad! None of the holes align. I then ordered another hitch from Drawtite a nd it fits perfectly.
Though, keep in mind that this added hitch will cut off your clearance quite significantly. Check out the video above and see how I scrap even in the tiniest water crossing. Coastal Offroad is known for its high clearance armor. Hence their optional 2″ hitch is recessed which gives you a better departure angle. So if you’re not planing to tow a trailer, I’d recommend going with Coastal Offroad’s hitch.
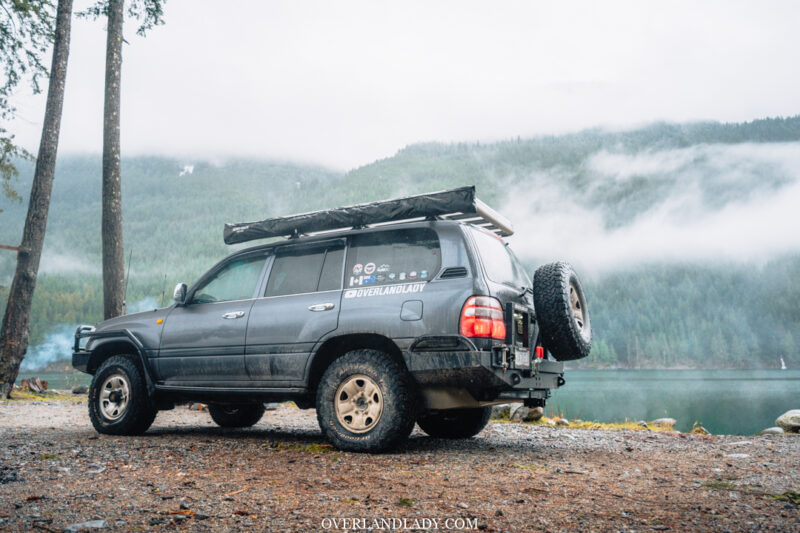
Coastal Offroad Bumper Options
- No body lift.
- Steel
- Dual swing-out carrier with dual jerry can holder
- With Quarter Panel Protection Hoops
- Without Recessed 2″ Receiver
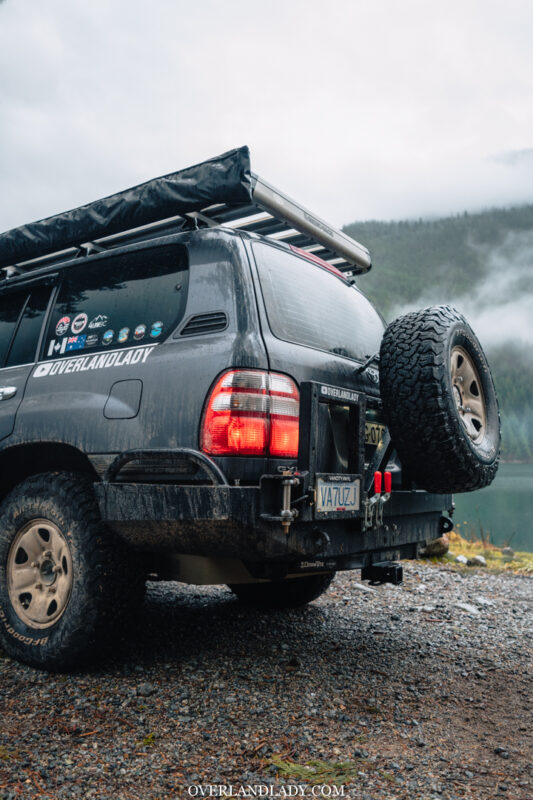
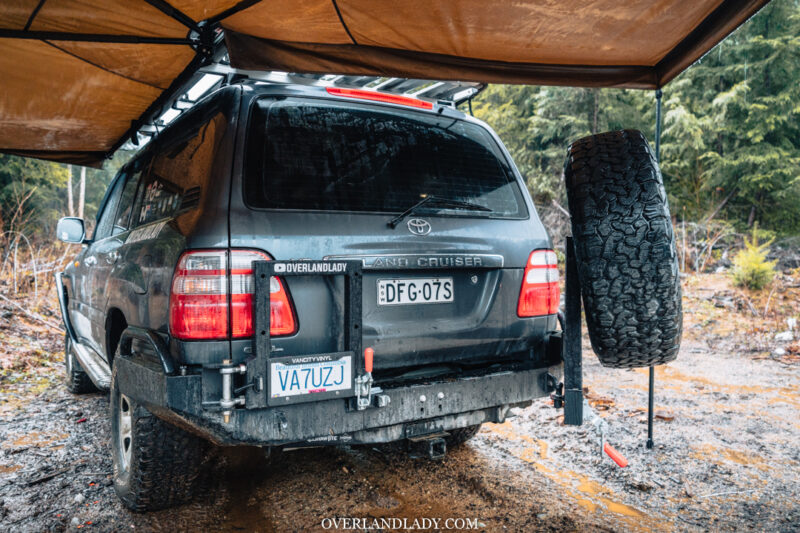
The standard dual swing-out carrier come with spare tire mount on one side, jerry can holder on the other. For the jerry can arm you can also request for a kit that mount your highlift jack and a 11lb propane tank.
Personally, I wouldn’t need to carry extra fuel since I already have a Longranger fuel tank. In the future, I might add a propane mount or chainsaw carrier to that arm. For now, it only holds my license plate.
If you would like to build a kit for your vehicle, don’t forget to use my discount code: overlandlady5
Coastal Offroad website: https://www.coastaloffroad.com/
